Violin
2021
Overview
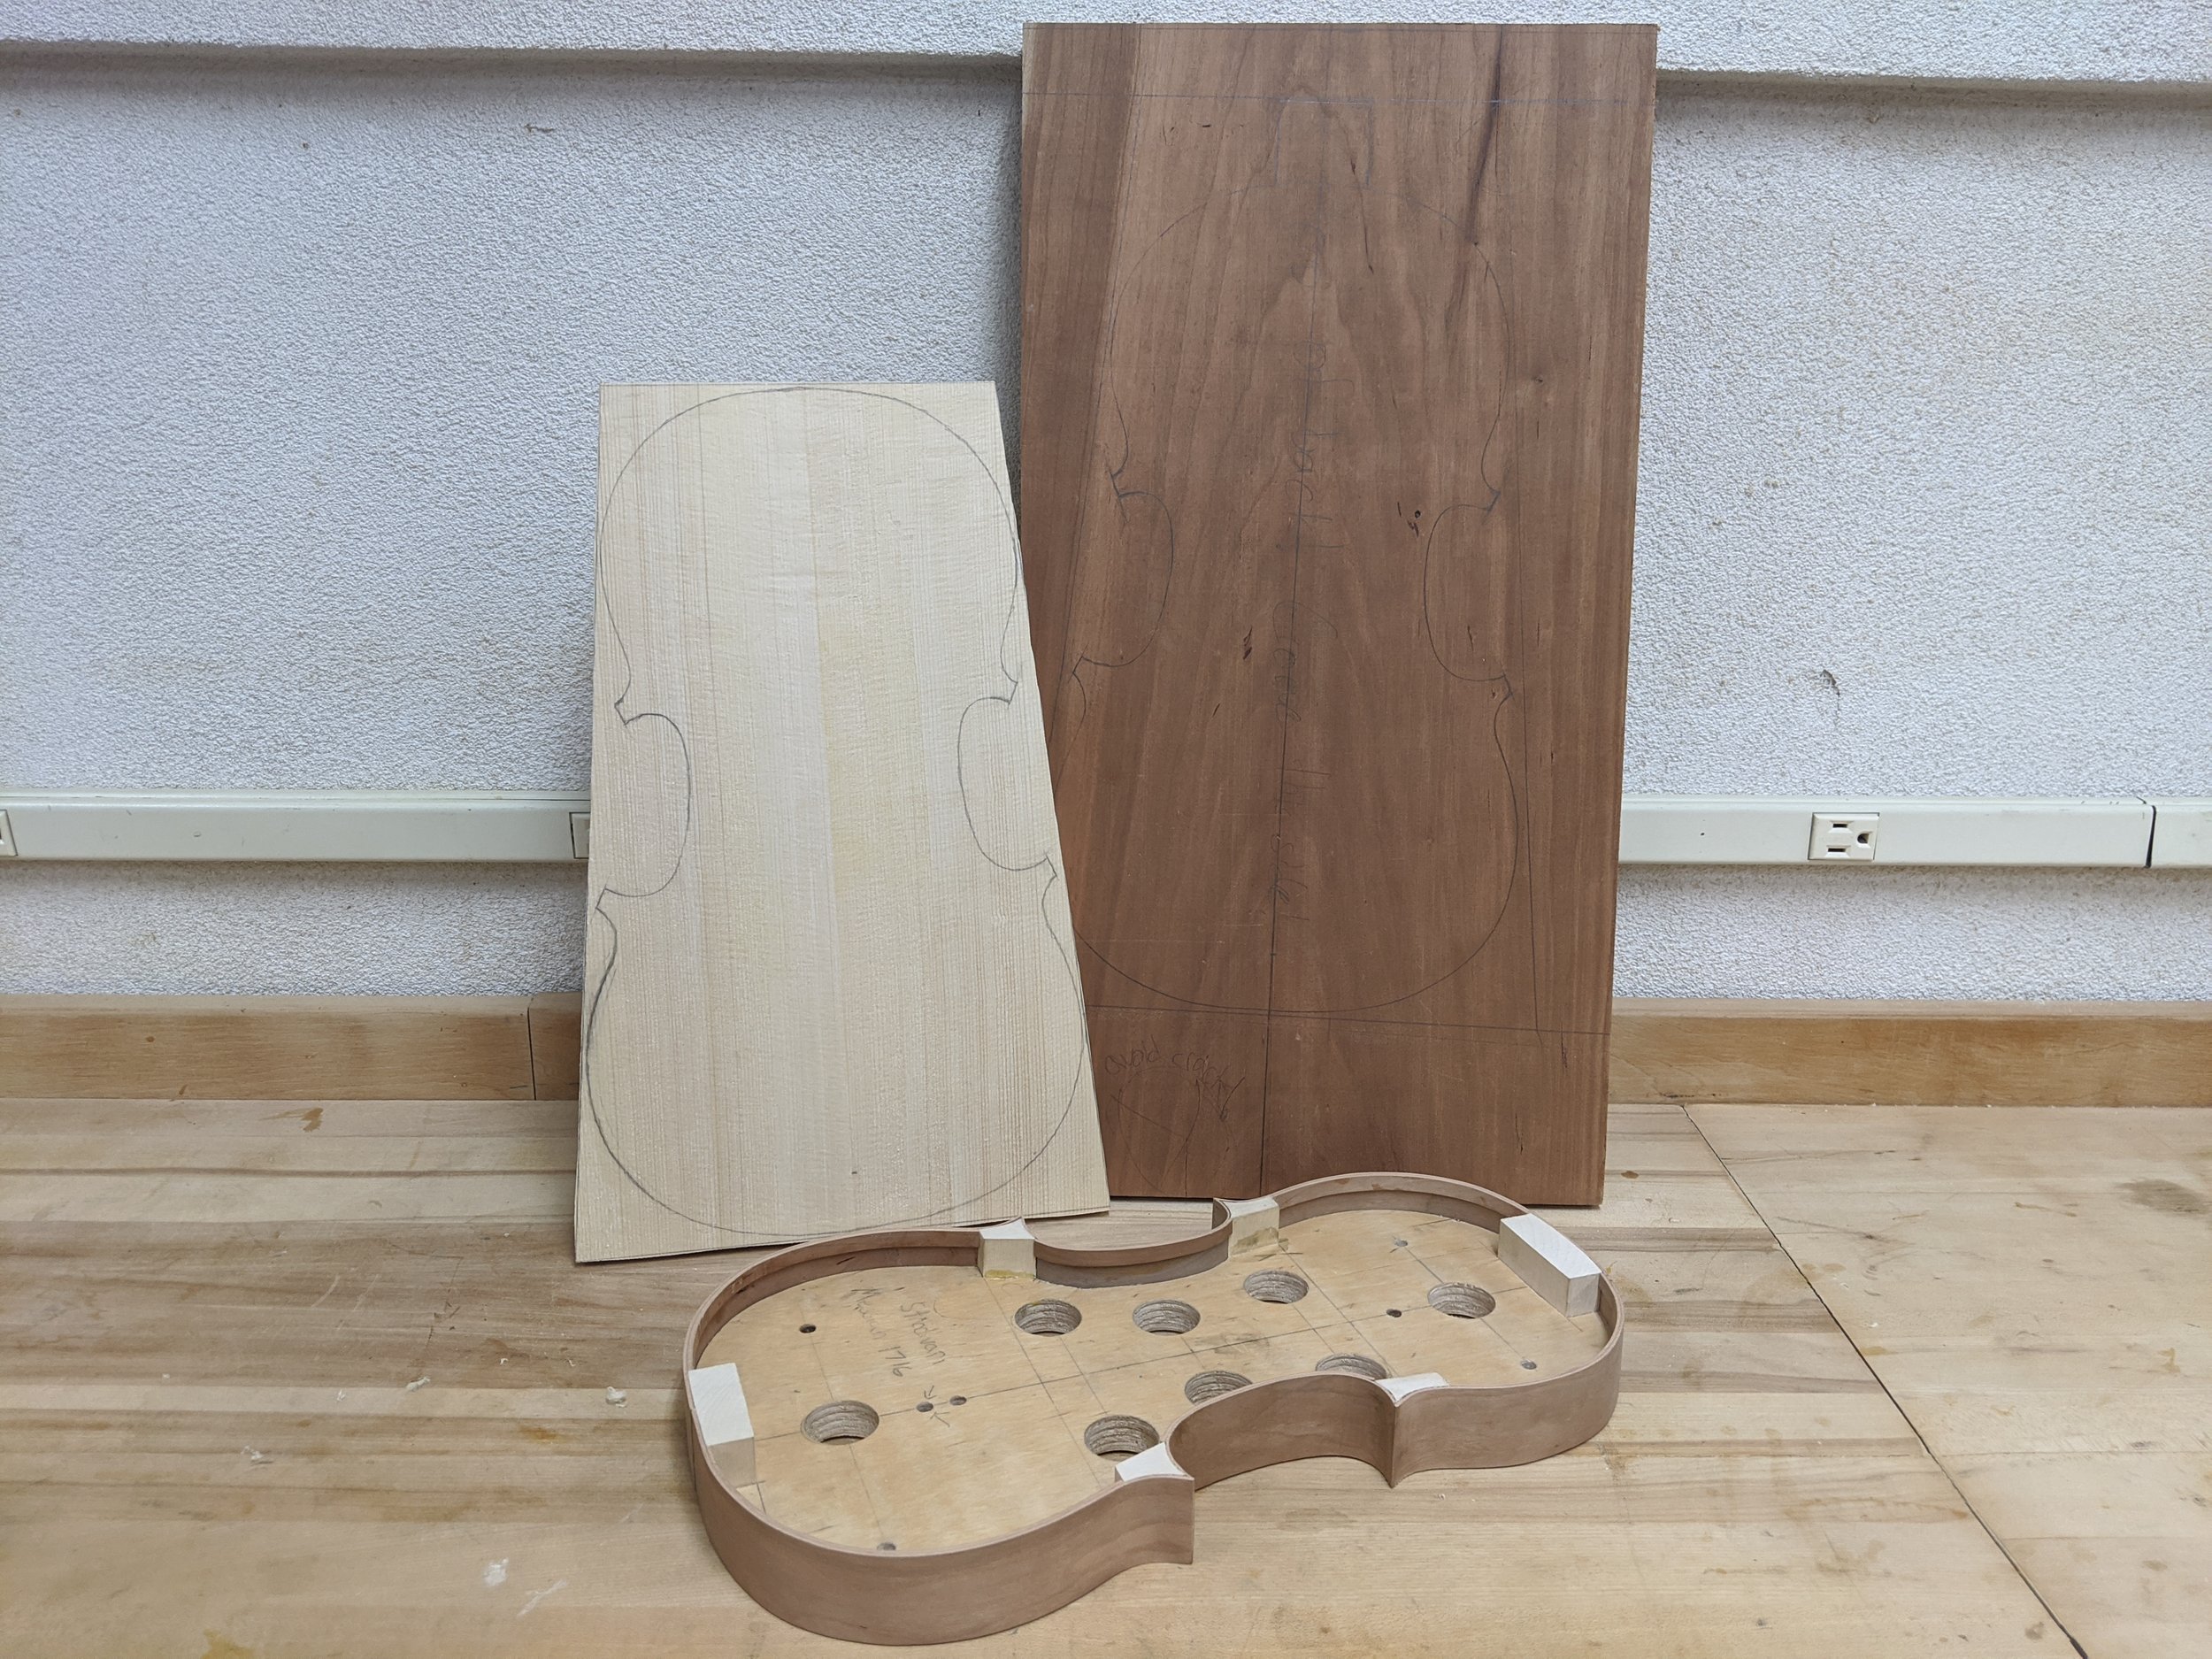
Permalink to “Overview”The violin was a personal project I took on starting in the summer of 2019. I worked on the project for a year, but did not make progress during the school semesters. I did not have any personalized instruction or prior knowledge and learned only from online resources. I recorded and edited together a video series on the whole project which can be found on my YouTube page.
Built from Scratch
Permalink to “Built from Scratch”When I decided to take on this project, I really wanted to start completely from scratch. The majority of the violin started off as rough sawn lumber. Pieces were planed flat, the sides were cut into thin strips and thicknessed appropriately. I chose to go with a unique and bold look by using cherry wood as a substitution for the traditional maple while the top is still the typical spruce. Almost everything was carved by hand besides the initial planing and rough cutting the outline with a bandsaw.

Planning and Tool Building
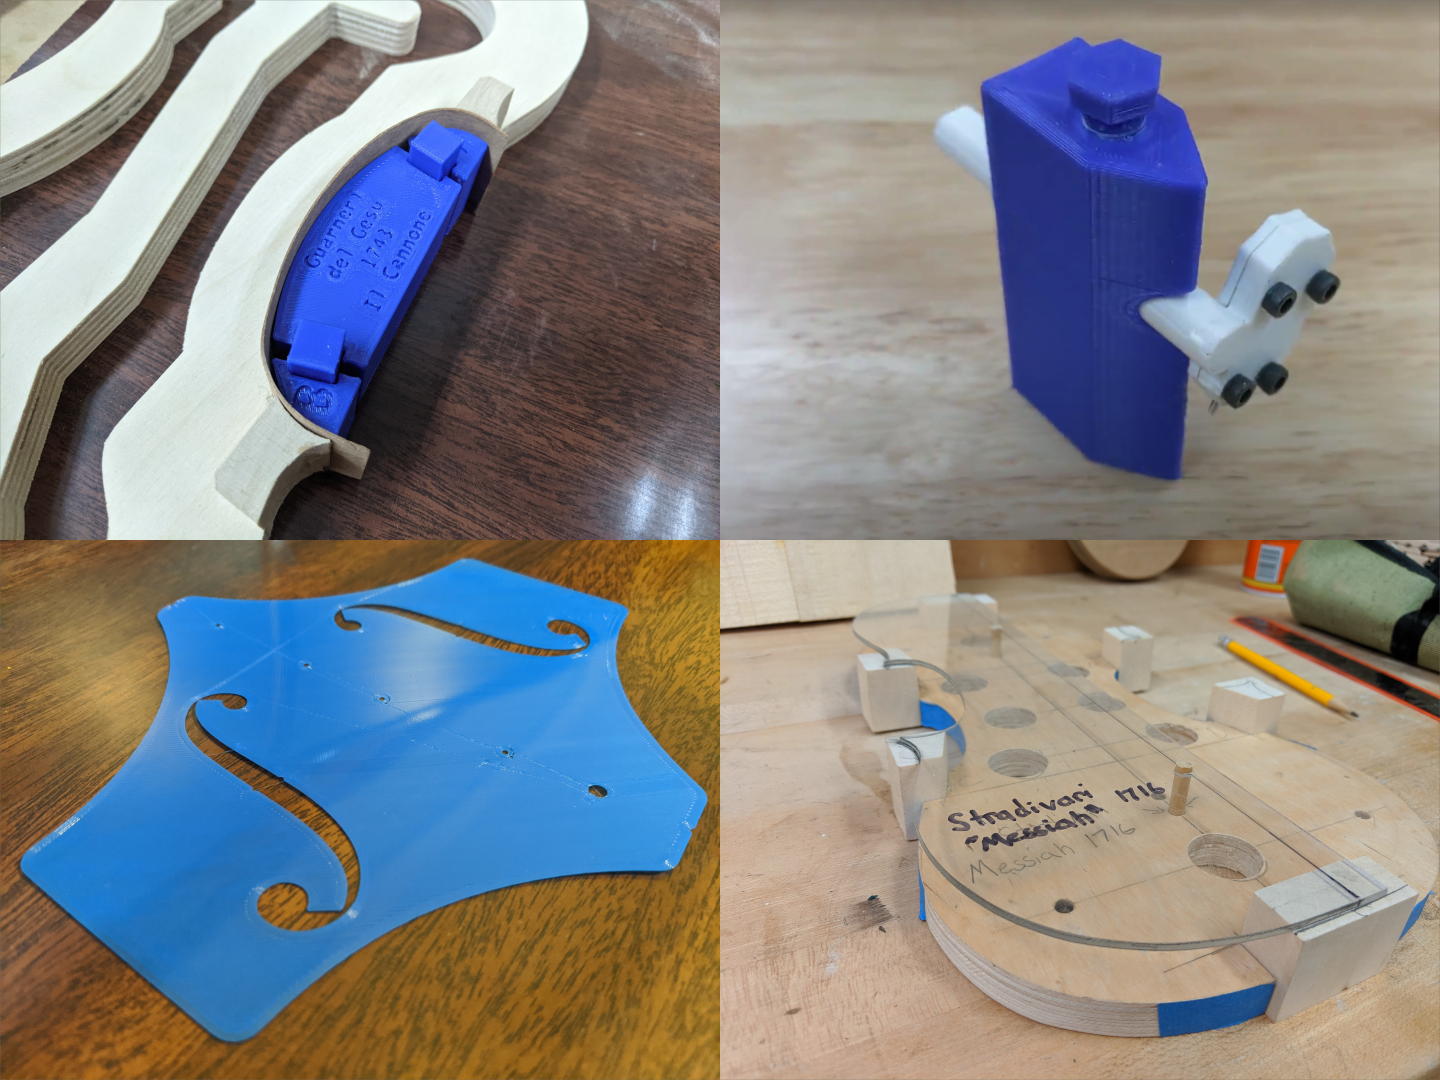
Permalink to “Planning and Tool Building”The build process was dominated by planning and tool building. I primarily followed plans from makingtheviolin.com. Using the templates and measurements provided there, I produced several tools to help along the process. I made a mold/form of plywood (bottom right) with holes for clamping and alignment. For installing the purfling I designed and 3D printed a custom marking gauge (top right) that left two lines between which the wood was removed for the purfling. I designed a custom clamp using three sections and a wedge to clamp the c-bouts to the corner blocks (top left). I printed a single layer ff-hole stencil (bottom left) which gave me more accuracy than cutting the stencil by hand.

Spectral Analysis/Plate Tuning
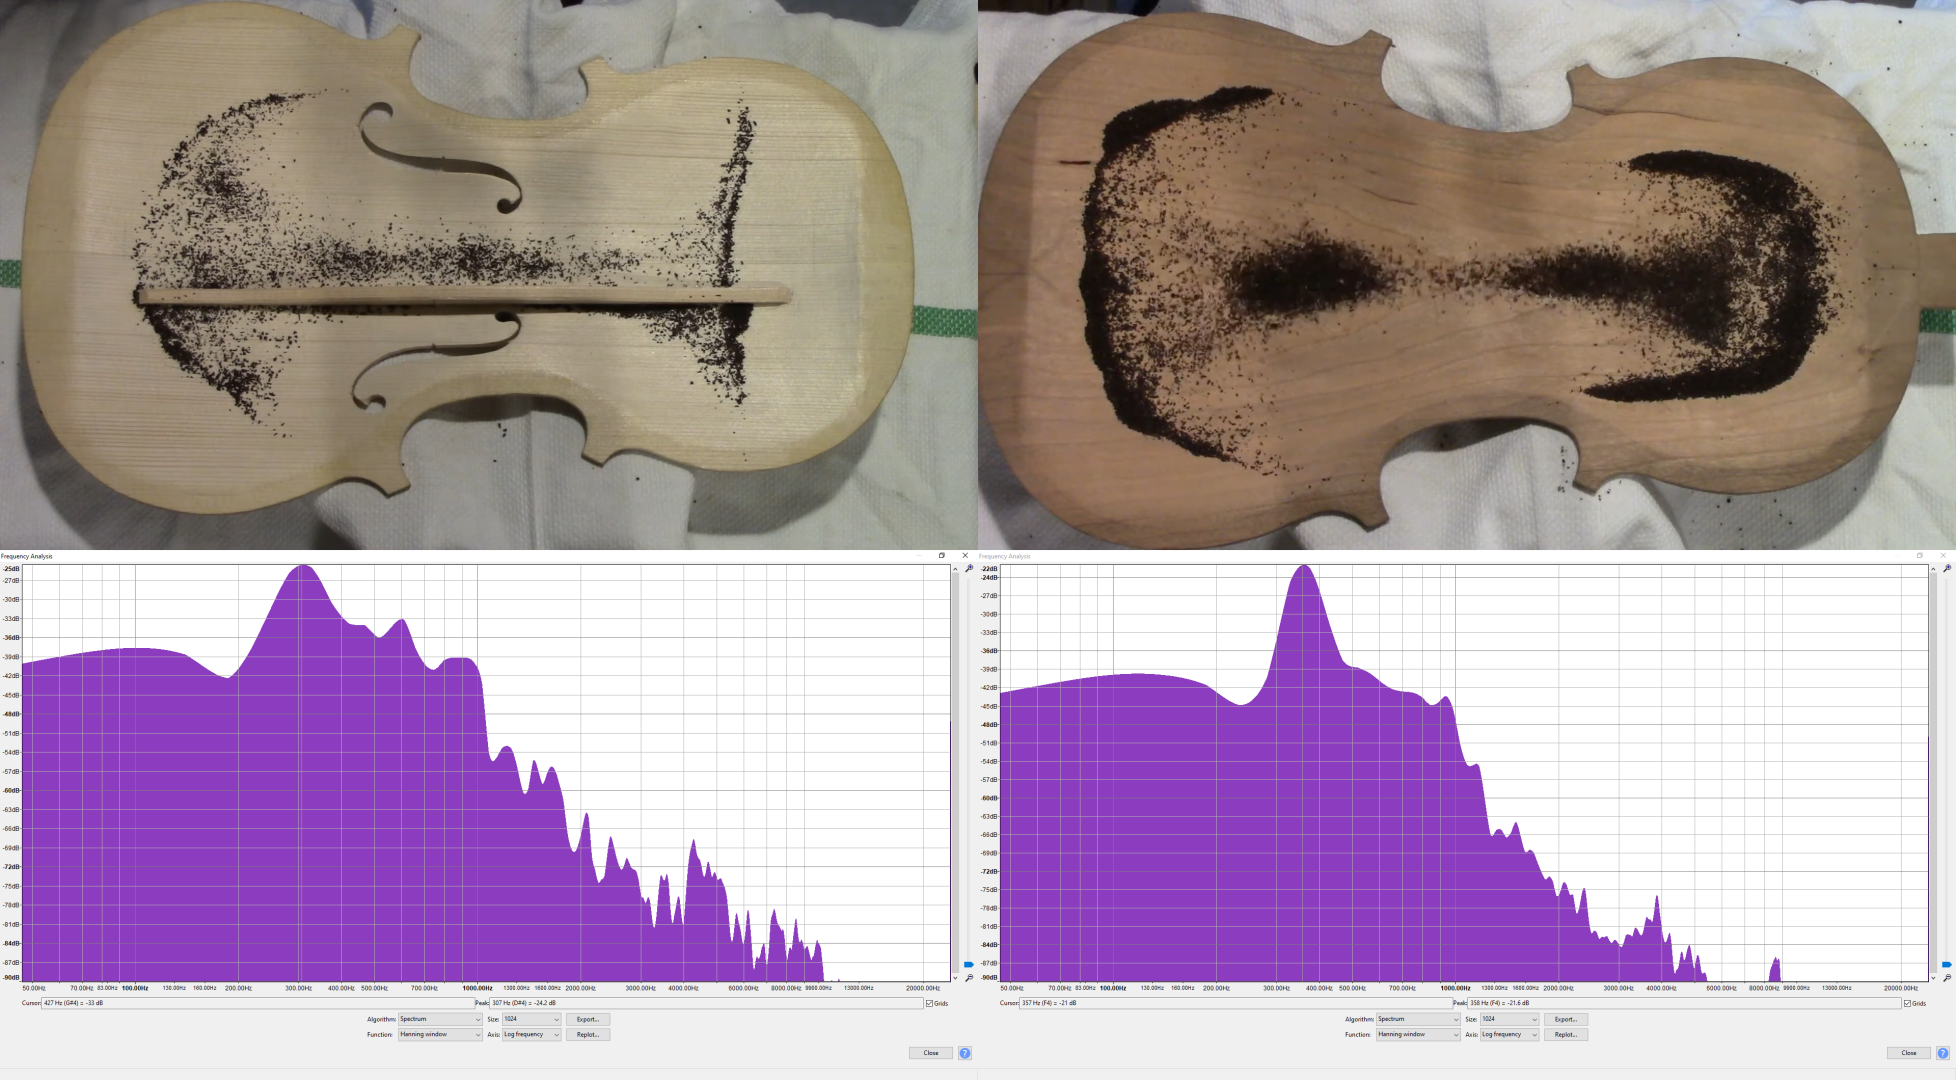
Permalink to “Spectral Analysis/Plate Tuning”Plate tuning is a methodology to improve the quality of sound in the final instrument. The shape, curvature, and thickness of a violin plate determine the frequencies of various modes of vibration. The relationship between the modes within a plate, and between the front and back plate can have a large impact on the final quality of sound. Chladni patterns are used to visualize these modes. Pictured on the left are the chladni patterns for my violin plates along with the corresponding spectral analysis when driven at that mode. I tuned these plates to have their mode fives be one semitone apart.

Design Details
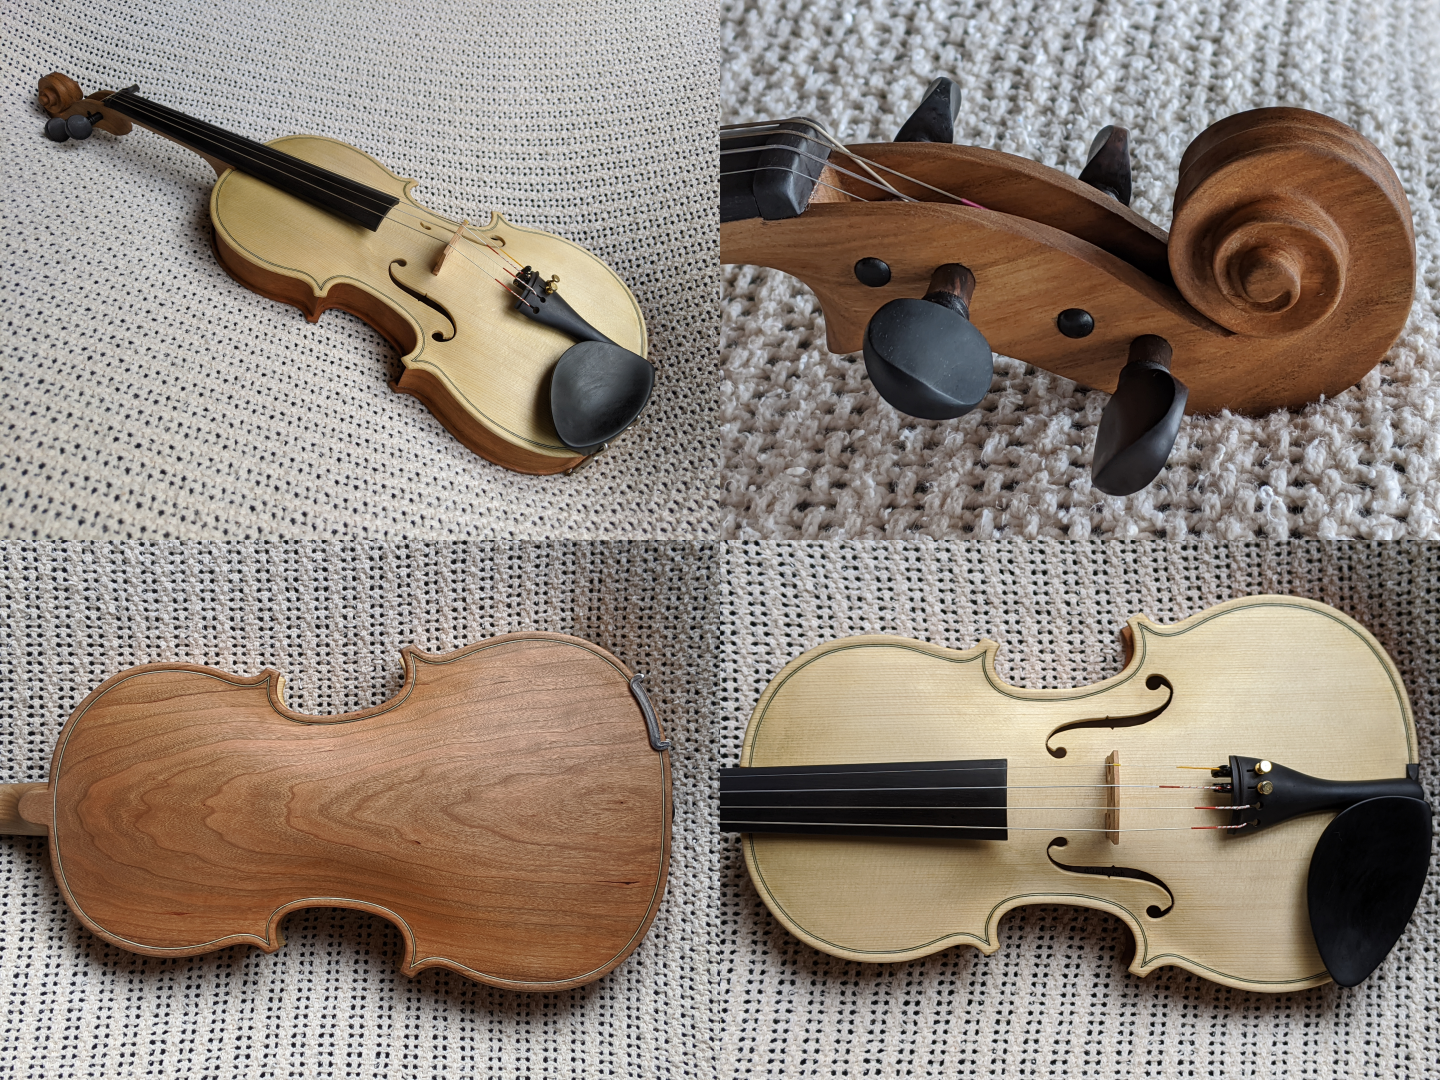
Permalink to “Design Details”I made a very conscious decision to not dye or color the wood or varnish on this instrument. I personally love the two tone look which sets my violin apart from most others. I chose to go with a matte varnish as opposed to the more traditional glossy finish which I was never a fan of. All of the ebony fittings were finished with a #0000 steel wool to match the matte finish. I hand carved the scroll with minor undercuts and chamfered edges to give a soft and sweeping look.
